Turning a raw, wooded backyard in Norfolk, Massachusetts into a flowing water feature takes a lot more than digging a trench and dropping in a few rocks. Most of the craftsmanship in a stream happens long before the water ever turns on, and almost none of it is visible once the job is done.
That is why we filmed this one start to finish. This job was a rebuild of an existing backyard pond, and the homeowners signed on at our client appreciation pizza party. The centerpiece is a new 16 foot fieldstone stream. In just over 8 minutes, you can watch our crew take a bare dirt slope and turn it into a custom mountain stream: excavators, giant fieldstone, precision grading and all.
If you are thinking about adding a stream or waterfall to your own yard, here is what you are actually watching at each stage, and why it matters.
Stage 1: Reading the slope and grading for fall
A stream is really a series of small steps. Water has to drop from the top of the run to the bottom, but it cannot just race downhill like a gutter. Each section needs to hold a little water, slow down, and spill over into the next.
That comes down to elevation. Before the real digging starts, we set out where the top and bottom of the stream will sit and how much fall there is between them. Get the grade wrong and you end up with a stream that either barely moves or one that rushes, splashes outside the liner and quietly loses water every day.
There is a second reason grading matters. When the pump shuts off, the water sitting in the stream drains back down to the bottom. The basin or pond at the low end has to be shaped and sized to hold it, or it overflows every time the power blinks.
Stage 2: Precision excavation
In the timelapse, the excavator does most of the heavy lifting, but this is shaping work, not just digging. The machine carves the channel, the pools and the shelves where stone will sit later.
Wooded lots add their own challenges. Roots, buried rock and uneven ground all show up once the topsoil comes off, and they have to be dealt with now. Anything left behind under the liner becomes a problem later.
Stage 3: A heavy-duty foundation
This is the part nobody sees once the stream is finished, and it is the part that decides how long the stream lasts.
Under the stone sits a protective underlayment and a flexible pond liner. The ground under the biggest boulders needs to be firm, because a multi-ton rock sitting on soft soil will settle over time. When stone settles, it can stretch or puncture the liner beneath it, and a stream that held water on day one starts to leak in year three.
If you want to go deeper on liners, our post on why cheap pond liners fail at the seams covers what to look for.
Stage 4: Setting massive boulders
This is the most satisfying part of the video. Large fieldstone boulders get strapped to the excavator, swung into place and adjusted until they sit right. Then the smaller stones, gravel and fill go in around them by hand.
On this project, the largest boulder weighed roughly 2,000 pounds, and the biggest stone in the stream itself was about 1,500 pounds. Stones that size cannot be nudged into place by hand once they are down, so each one has to be set right the first time.
The big stones are not just for looks. Placed along the edges and at each drop, they hide the liner, lock the stream into the landscape and shape exactly how the water falls. A natural-looking stream is built from the outside in: the anchor stones set the bones, and every smaller stone is chosen to fit around them.
That hand work is what separates a stream that looks like it has always been there from one that looks like a ditch lined with rocks. We wrote more about this in how to make a pond waterfall look natural.
Stage 5: The water turns on
After all the grading, liner work and stone setting, the payoff comes in seconds. Water fills the top pool, spills over the first drop and works its way down. If the earlier stages were done right, it is quiet, steady and stays inside the stream.
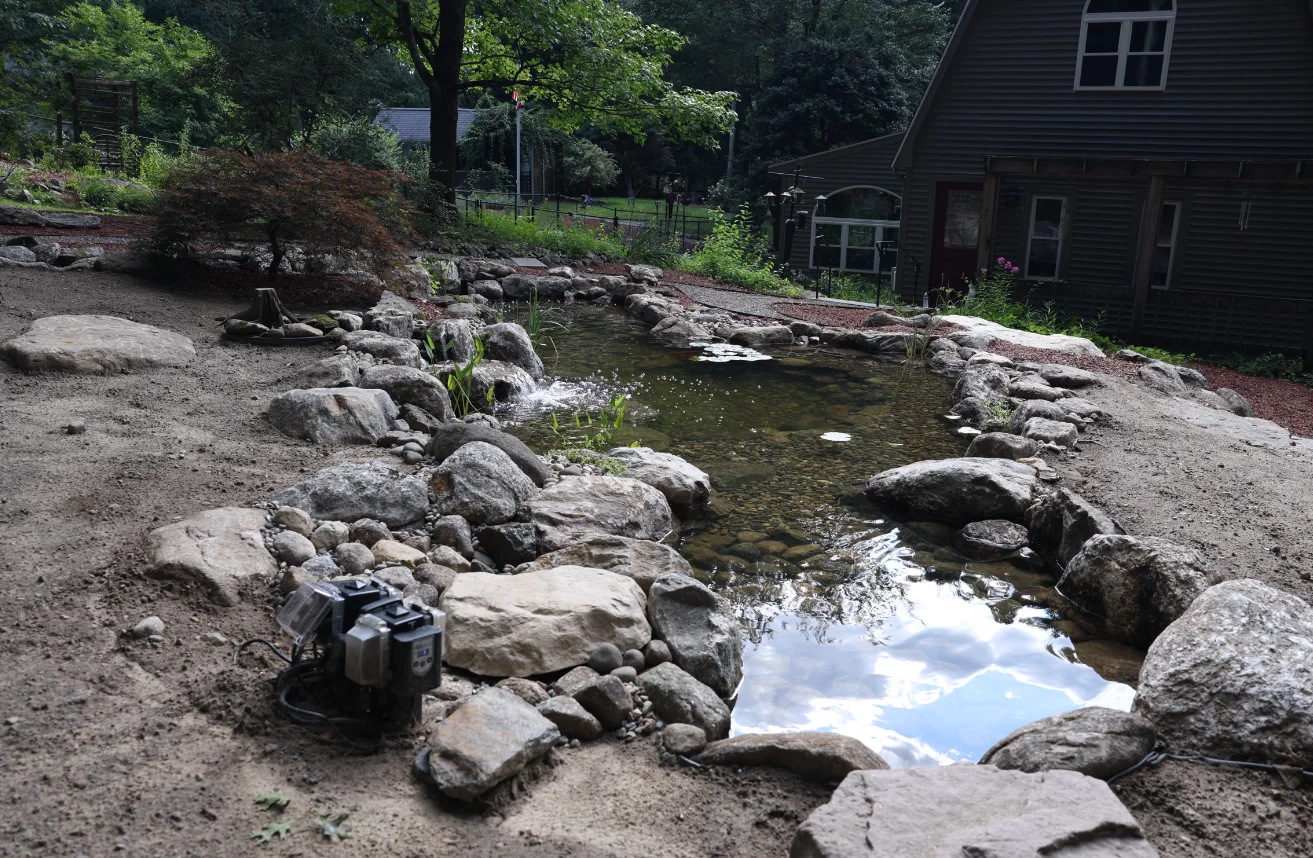
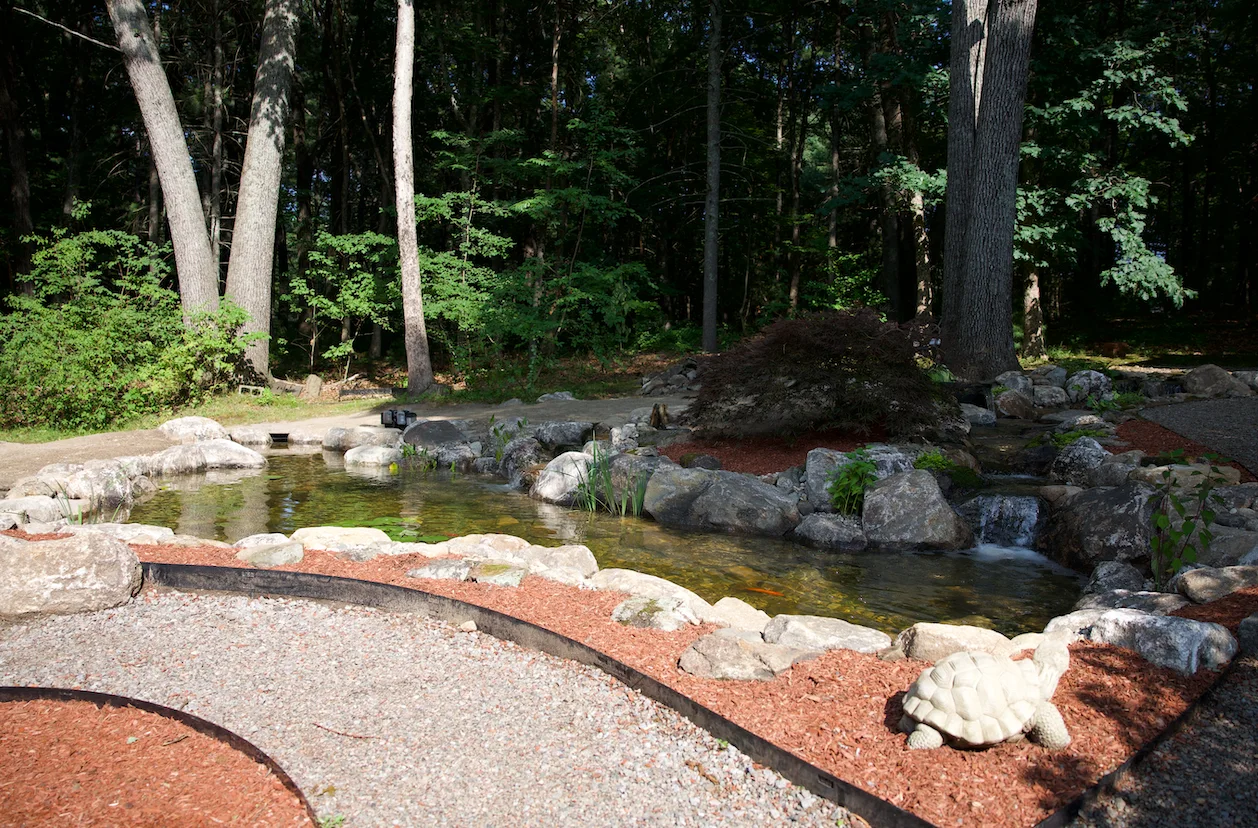
Once the plantings, mulch and gravel path were in, the stream looks like it has always been part of the woods.
What to ask before you build a stream
Whether you hire us or someone else, a few questions will tell you a lot about how a stream will hold up:
- How will you set the grade? Ask how they plan the drop from top to bottom and what happens to the water when the pump turns off.
- What goes under the stone? You want to hear about underlayment and liner, not just rock on soil.
- How are the big boulders set? Large stones should sit on firm ground so they do not settle into the liner over time.
- How will equipment get into my yard? A build like this needs machine access. Ask about the route and what restoration looks like afterward.
More of this build is coming
This timelapse is the short version. It is part of our VIP Backyard Upgrade series on YouTube, which follows this restoration step by step so you can see each stage up close. Subscribe to our YouTube channel to catch each episode as it goes up.
In the meantime, browse our project case studies to see finished water features across New England, or check our pricing page to see what a project like this typically costs. When you are ready to talk about your own yard, reach out to our team.